
JavaScript was created to help improve the interactive parts of the web. It has evolved a lot over time, and is used in all sorts of places. We however, will start where JavaScript started; in the browser. This is where the fun and magic really begins. If any of the parts we cover do not make sense try and find other lessons that maybe expand and elaborate on some of the details. If you aren’t quite ready to just dive in try here. Remember this should be fun!
Set up
We are going to be moving away from just using the console for now. Instead we are going to load in the JavaScript into the browser on our own page. We will need to create two files index.html and myscript.js.
Creating Files
We are going to need a text editor to work with the files. If you are on Windows, you can use Notepad. If you are on MacOS you can use TextEdit, the fundamentals are the same. Alternatively you can download and use Notepad++, which will have some nicer features than the basic notepads. Notepad and Notepad++ are what I started my programming adventure with. If you want to get real fancy or are bold, try out Atom; a more professional grade text editor. For now, Notepad or TextEdit will work just fine!
Open up your editor and go to File > Save As. Once you have opened up the save dialog, you can create a folder myjs. Then inside of that folder we will save the file we are editing as index.html. Before saving, make sure to select the All Files for the Save as Type field, your screen might look something like this:

If you accidentally created a .txt file, don’t worry you can always override and eventually get the .html extension. When working with files there is usually a name then a .something, the .something is the file extension; a way of specifying the file type. Now that we have created our HTML file copy paste the following code section into the text editor and save.
index.html
<!DOCTYPE HTML>
<html>
<head>
<title>Learning JavaScript!</title>
</head>
<body>
<h1>Learning JavaScript</h1>
<script src="myscript.js"></script>
<body>
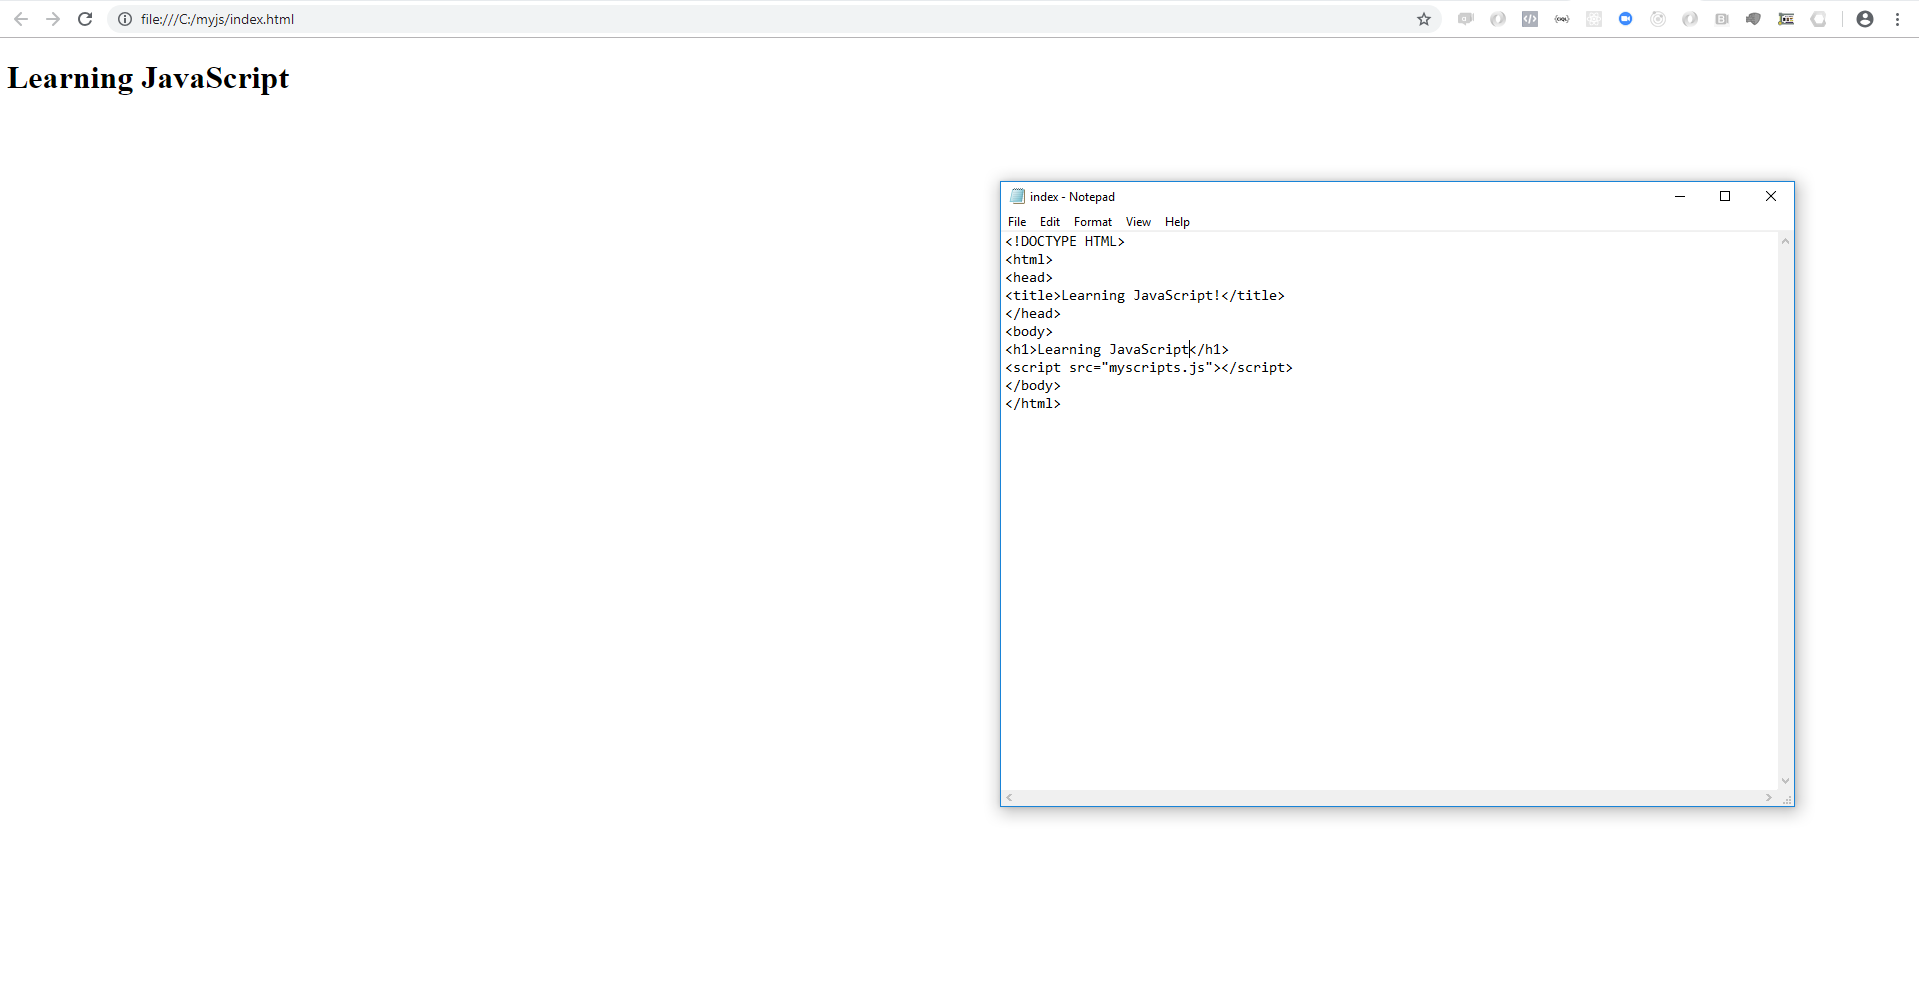
</html>HTML is the structural language for web pages. When the browser opens a website, it reads the HTML and then displays it on the screen in a form we are used to. The <script> tag loads in the myscript.js that we are about to create. Before creating the JavaScript file. Let’s open up the file in our browser. Find the index.html file in your myjs folder, and open it, it should load with your default browser. and should look something like this if you are using Google Chrome.
If we open up our console we will see an error:
GET file:///C:/myjs/myscript.js net::ERR_FILE_NOT_FOUNDThis is basically telling us that the browser could not find the JavaScript file. Well, we haven’t created it yet! Let’s do that now. Use the text editor and go to File > New, then save the file, File > Save As, and this time save the file as myscript.js
myscript.js
Copy, the code below and paste it into the text editor and save myscript.js.
document.write( 'I have created my first JavaScript file!' );Now that we have saved the myscript.js file we can reload our index.html and it should look something like this:
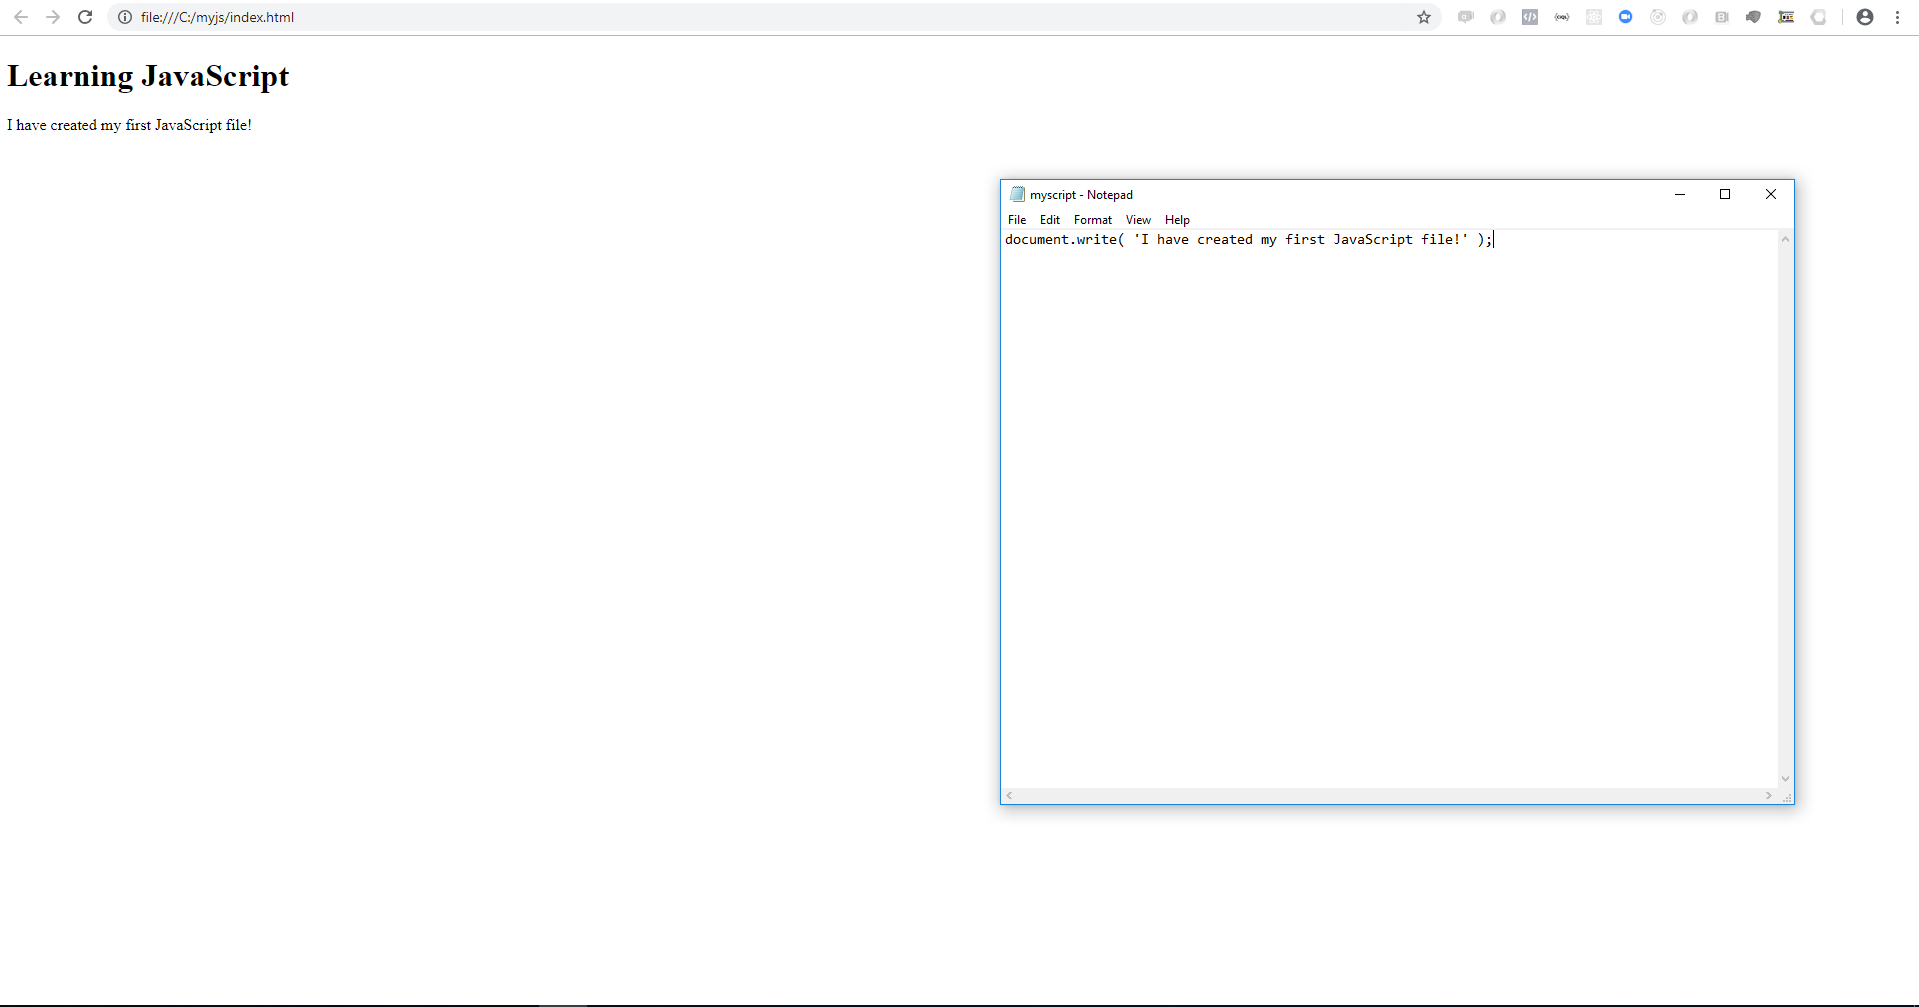
The document.write code adds the extra text to the browser this time, showing that our file has indeed loaded!
Next steps
Getting the basic set up is honestly one of the hardest parts, so great job! In part two we will start getting into some fun stuff!